Text by Jeremy Cuff/www.ja-universe.com
Photography by Jeremy & Amanda Cuff/www.ja-universe.com
The digital camera revolution has turned many divers into photographers, in addition to those stalwarts who have made the transition from film. Some are content to simply “point and shoot” on their annual dive holidays, but for others, the pursuit becomes more serious, usually involving investment in “higher end” photography equipment with a view to creating images worthy of publication and competition success. With an almost unlimited amount of diving experiences around the world to choose from, some photographers take up photojournalism as a way of exposing their work to a wider audience. But what’s really involved in producing diving features for diving magazines and websites…
Dive photojournalism is a lot more than gathering up your best fish or wreck shots and assembling a few paragraphs based on what you can remember about a dive destination. It requires a proficiency in photography and writing, an investment in equipment, knowledge of digital imaging software, good organisational skills, and advanced preparation. In short, it’s an entire approach.
Before attempting to get work published, a budding photojournalist must first acquire the skills and equipment required for the task in hand. Whilst it’s possible for beginners to get some good photographic results without really understanding the reasons why, it’s essential to acquire knowledge of how good work is produced, so that it can be repeated consistently.
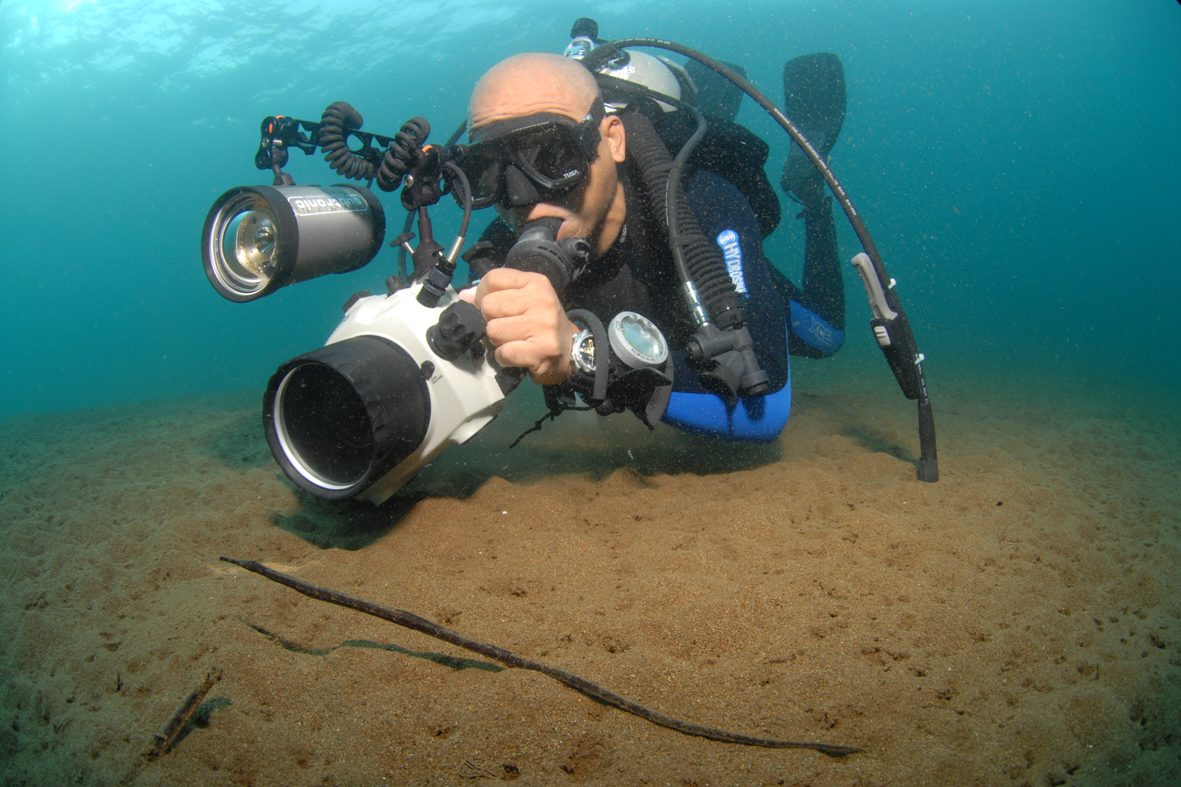
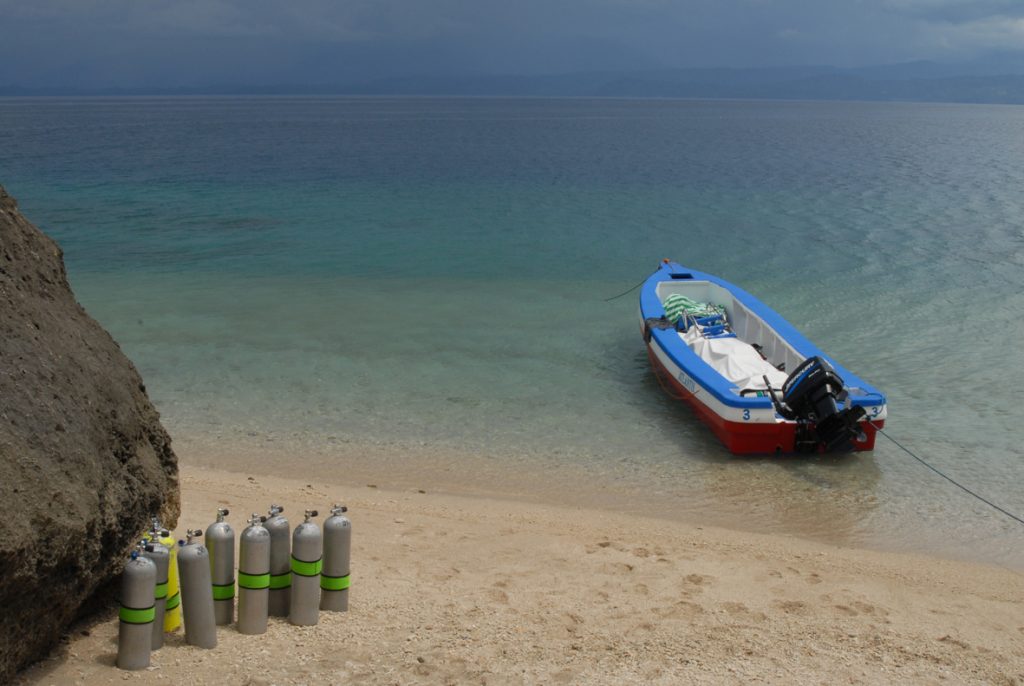
One of the first things that serious underwater photographers discover is that the equipment isn’t cheap. To get started, you’ll need to make an investment in equipment – a basic setup would likely include a digital SLR camera, a selection of lenses (macro, wide angle, fish eye), a camera housing, a selection of ports and at least one strobe. Out of the water you’ll also need a laptop computer loaded with relevant digital imaging software, ideally some kind of storage device/backup, memory cards, batteries, chargers and so on.
Whilst equipment is very important, the salvation for poor images is not necessarily buying more and supposedly better equipment, it’s understanding how to maximise results from the equipment that you already have. Introducing new pieces of equipment (that you don’t fully understand) to your existing equipment (that you don’t fully understand) is unlikely to take your photography any further forward.
By far the best and easiest way to make quick progress is to take tuition from a leading underwater photographer. Underwater photography is a challenging subject to learn, so any help can save years of frustration and poor or inconsistent results. In my case, I’ve learned from Martin Edge (the UK’s foremost teacher of underwater photography) and France based Kurt Amsler. Their knowledge and experience proved invaluable in setting me on the right path.
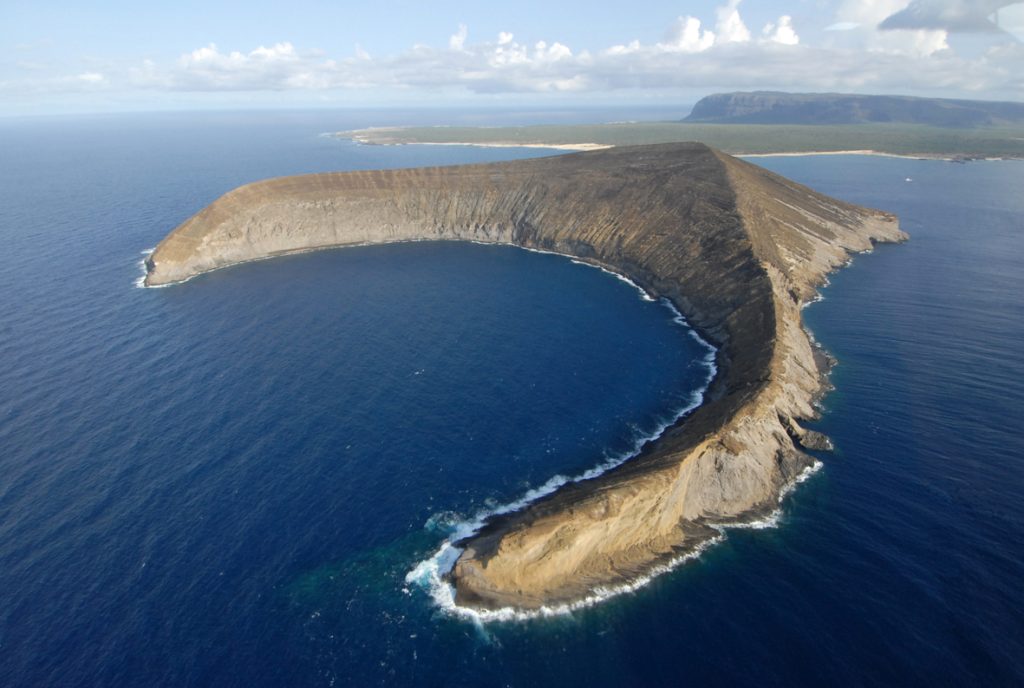
I also think it’s important to develop land photography skills, so that features can be illustrated in a wider context. Many underwater photographers neglect the “topside”, often to the detriment of the overall feature. Plan to include the “people and place” images with any piece of work.
Another key skill is that of writing. Some people find this relatively easy and enjoyable, whereas others find it a trying and time-consuming process. Certainly in the cases of the majority, the skill of writing has to be acquired and honed through practice, with most admitting that it seldom comes easily. This has certainly been true for myself, with initial efforts being long-winded and rambling affairs that attempted to include too much extraneous information that wasn’t central to the main topic. I’ve had to learn to edit my work to essentials.
To produce good features, it’s essential that the writing and pictures are related – for example, there’s no point in making your fantastic manta ray encounters central to the story if you’ve no images to back it up. Make sure you can tell the story in words and pictures.
Getting through the initial “novice” phase requires effort and perseverance, especially as it’s unlikely that anything will be published during this time. You have to be quite hard on yourself in order to move forward and ask yourself honestly whether you think your work is worthy of publication. If not, try to get to the bottom of the reasons why and work on those areas, and ask others for their honest opinions, good, bad or indifferent.
To understand the benchmark you must attain, study current published work and seek to emulate the quality of those features in your own work. If your work is obviously inferior to the “average” feature, don’t attempt to get it published, as it’ll only make it harder to get a proposal accepted next time. Wait until you’re ready.
Once you feel ready to get published, you have to ask questions such as, “what might an editor be looking for?” Again, you must refer to the magazine or website you wish to target in order to understand the “type” of features that are regularly published in terms of writing style, word count, photography and so on.
It’s also worth checking recent back issues or stories – an editor is unlikely to want your feature on shark feeding in the Bahamas if an edition from two months ago featured a similar story. If you are visiting a regularly dived area, try to think of a different angle on a familiar place. You must also carefully research the area that you plan to visit, so that you know what to expect and take into account any seasonal variations – there’s no point turning up at Ningaloo Reef in Western Australia to photograph whale sharks in November when the season is late March to July. Make sure you do your homework.
With your ideas fully formed, it’s now the time put a proposal to the editor. Before sending, it’s good practice to give yourself a “reality check” – don’t over promise and under deliver.
I prefer to put my ideas forward in writing, fully explaining what I’m planning to do in terms of geography of the destination, timeframe, expected diving (if known) and other relevant facts, plus an overview of how I envisage the feature. Editors receive many proposals, so it’s obviously important to ensure that you create an attractive and professional first impression. If you don’t hear back, you can resend and follow up.
If the editor likes your idea and accepts your proposal, it’s now down to going out and “nailing it”. It’s important that you’re ready for action.
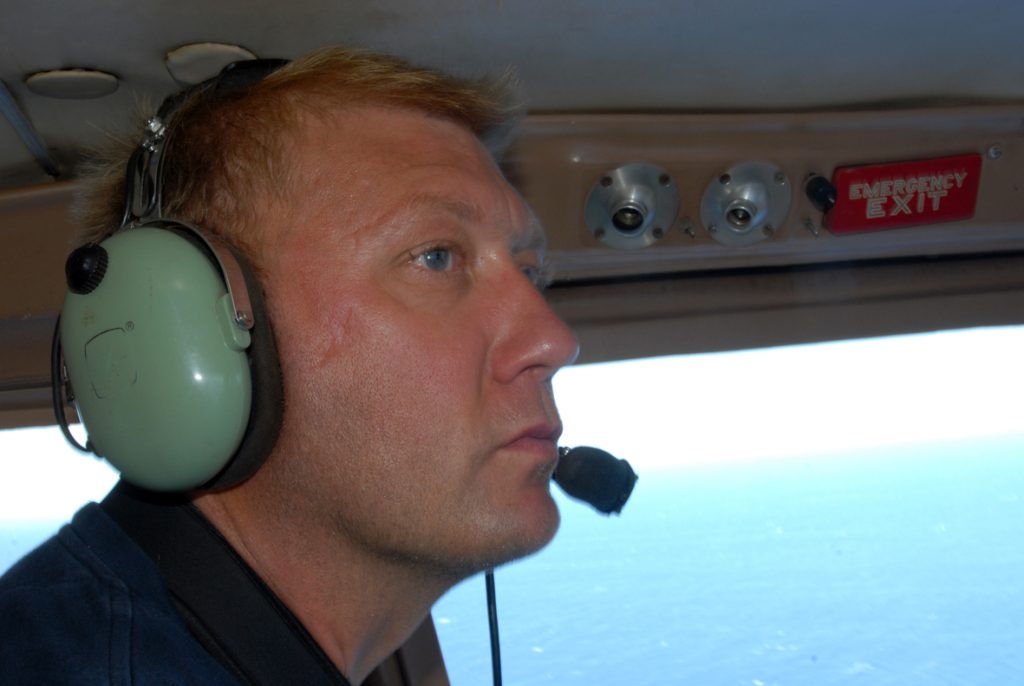
In order to reach your chosen destination with all of your gear intact, it’s important to consider how you will pack it, so as to reduce risk of damage. These days, airlines are much more likely to enforce baggage restrictions “to the letter” with very little leeway allowed for oversize or overweight bags. There’s now some excellent camera backpacks and camera jackets available which can be taken as hand luggage, but for the hold luggage it’s a case of checking out the allowances for each airline in advance, before you find yourself having to pay extortionate excess baggage rates at check in, or be forced to unpack and transfer items into different bags.
There’s often a huge amount of effort and expense required before a single underwater image can be taken. Simply put, it might involve researching a dive destination, a plane journey, a transfer, a boat trip to a special dive site and a once in a lifetime encounter, only to find that you didn’t charge your strobe properly or you left the lens cap on the camera. Or perhaps you had the wrong type of lens for the subjects you encountered. It then becomes a very expensive waste of time. So, it’s easy to see the benefits of developing a professional approach in terms of good organisation and preparation. But in practical terms, what kind of preparation is required?
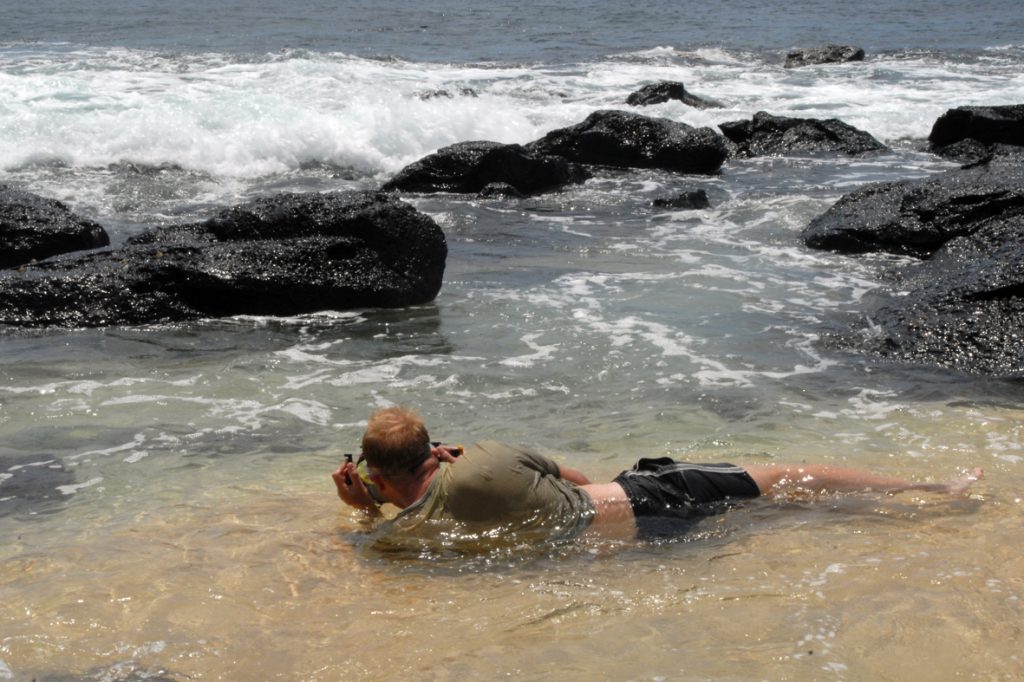
Successful underwater photography cannot be achieved by just being comfortable in the water and possessing knowledge of f-stops and shutter speeds, important though it is. It’s really the overall approach to the activity that can make or break the success of a photojournalist’s work. To quote Kurt Amsler, it is “the way to the picture”.
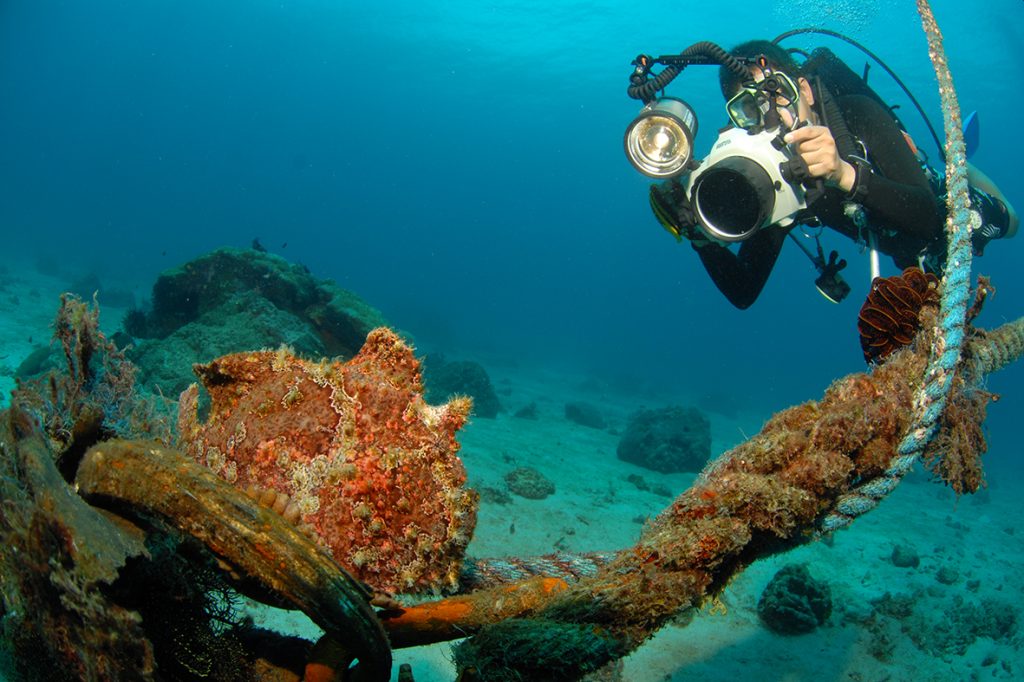
Ideally, a dive photojournalist must eliminate “mental clutter” and concentrate on the work in hand, which is best achieved by adopting a relaxed, slow and stress-free way of diving. In fact, you could even say that underwater photographers have, out of necessity, developed their own style of diving, what is often referred to as the “photo dive”, a phrase commonly used by Martin Edge. Also, it’s important to think about what kind of images you want to capture prior to getting in the water, in order to best illustrate the feature and it’s worth considering “training” your buddy to become a model when the circumstances suit.
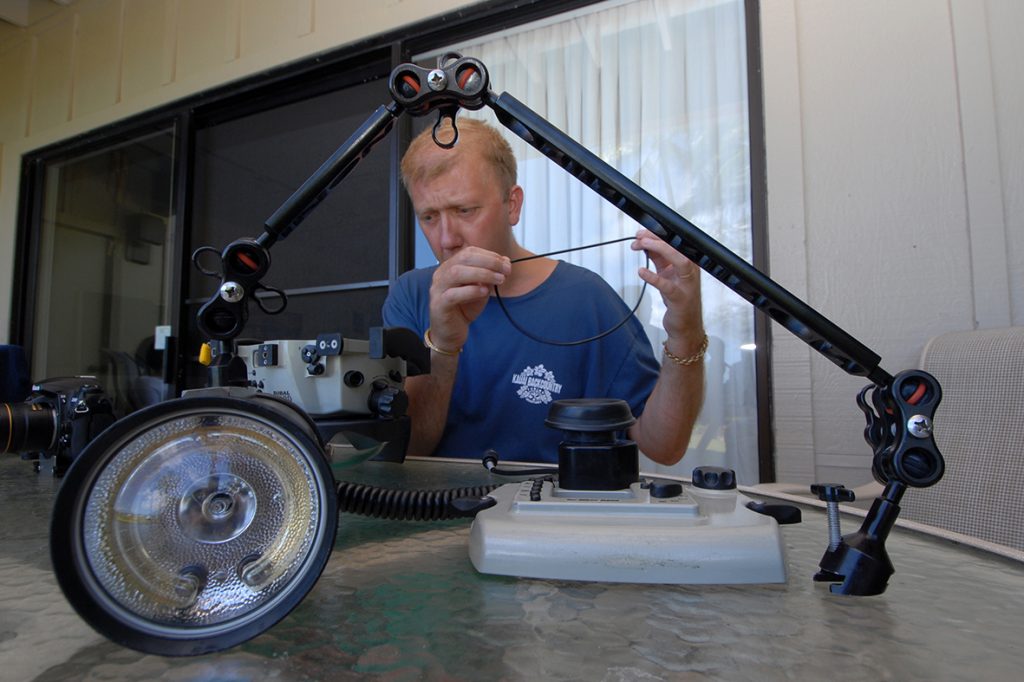
Advance knowledge of the dive sites to be visited is a useful addition to the all important dive briefing itself. Knowing what to expect will influence the set up that the photographer chooses and is pivotal to the end result. With the information about where you will be diving and what may be encountered there, the photographer can prepare his camera equipment the night before and have time to solve any technical glitches he may come across. Changing lenses or trying to fix a problem in a mad rush before a dive is a recipe for disaster.
The importance of the dive briefings themselves should not be underestimated and is a crucial step in locating the required subjects, or how to behave around skittish subjects. Following it will be much more likely to bring in good results. The diver who didn’t listen may miss some or all of the best spots – perhaps an overhang festooned with rare coral or gorgonians.
Learning about the behaviour of a subject is also an advantageous and often overlooked aspect of underwater photography. Why go looking for lionfish at midday when they are more likely to be active during the late afternoon or dusk?
Of course, what happens out of the water is massively important, too. Whilst on location, it’s important to carefully maintain your photographic equipment to reduce the risk of flooding a camera or strobe. This can be helped by establishing a routine. But it doesn’t stop there – a good photojournalist must also download and name images, back up work onto storage devices to minimize risk of data loss, make extensive notes so that you’re not having to rely on memory to write the feature when you get home, take “topside” photographs, keep batteries and laptops charged and so on. There’s always plenty to do, and if you let it, things can quickly descend into chaos.
Back at home, all of the carefully gathered threads of images, notes and insights must then be brought together and woven into a coherent feature suitable for publication. It’s essential to stick to the brief agreed with the editor, and not be tempted to deviate into areas that are unnecessary or irrelevant. Sometimes though, it’s worth suggesting a related sub-feature to an editor, who might include it within the overall feature, but as a “box-out”.
A good example of this was from one of my own features, about Lady Elliot Island in Australia, which appeared in an edition of Sport Diver in the UK. I produced the main feature, but also realised that there was an interesting history to the island, which I supplied as a separate document. It added an extra context and dimension to the feature. And don’t forget to produce a comprehensive “factfile” on the destination that you visited.
Although it might seem that the most time consuming part is over, don’t underestimate the work required to write an article and get it to the point that you’re happy to submit. I find that it’s necessary to set aside time dedicated to writing a feature, as it’s very difficult to do when you’re being distracted by other things going on. I also find that I can get “too close and familiar” with its content, so I always ask my wife Amanda to read it and make suggestions. Be discerning and take the time required to get it right, and don’t take risks with information – check and double check all your facts as there’s nothing worse than getting something wrong in the public domain.
To complete a feature, a photojournalist must also select his best and most suitable images to accompany the words. This too, is a surprisingly time consuming process, which can be exacerbated by having to “correct” poorly taken images using programs such as Photoshop. Whilst, I think, it is generally accepted that photographers will make some adjustments to images prior to submission (brightness, contrast, cropping, cleaning the odd bit of backscatter etc), it’s not good practice to have to “repair” each image in a major way. If you find you’re doing too much of this, try to establish where things are going wrong and fix it, and make sure that you’re working with a calibrated monitor. Getting it right “on camera” is definitely the way to go.
And so, with everything done, the final step is to pack up the feature and supply it to the editor. Usually, I’ll burn everything onto a CD or DVD for a magazine, but it’s important to make it easy for the editor and his team of deputy/sub editors and graphic designers to clearly and quickly understand what he’s been sent. Don’t forget, they’re not as familiar with the work as you are.
I sometimes divide the images into “underwater” and “above water” folders, and then subdivide those if I’m dealing with multiple locations in one feature. It’s also helpful to give relevant and meaningful filenames to text and image files.
To sum up, it’s true to say that photojournalism is hard work, but rewarding work. To get the best from it, the photojournalist must learn from his own experiences and curiosity, and combine that with the knowledge of others who have already attained success or whose mistakes he wishes to avoid. Most of all, it requires personal commitment. If it’s for you, why not give it a try?